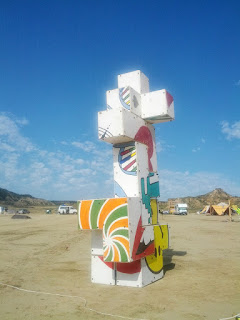
Mental Block is an interactive work of art that I (George van den Driessche) designed and built for Nowhere 2013. Its seven pieces can be assembled into a 1.2m cube, or into a multitude of other shapes. There are ten large square images hidden in the work; each can be revealed by building a cube in a different way. The seven pieces are also a good size for sitting on!


The full photo album from the event is here.


The full photo album from the event is here.
Timeline
The project was carried out in my spare time. Overall, it involved about six months of programming, planning and modelling, followed by three months of construction.

- November: Improved program performance and rewrote it in other languages to see how it came out.
- January: Added code to export a 3D animation of the solutions to Blender. Uploaded a simple animation to YouTube.
- February: Used a constraint solver to discover that a single Soma cube can contain ten whole square faces (though obviously they can't all be displayed at once).
- March: Realised I could build a giant Soma cube and paint it. Submitted an application for an art grant for Nowhere.
- April: Learned that my art grant application was successful. Acquired plywood, and built a small test cube to learn how to build the full thing.


- May: Experimented with feet and corners for the cube. Cut all the large parts of plywood. Made some more models in Blender and uploaded a Sketchfab model of one of them.


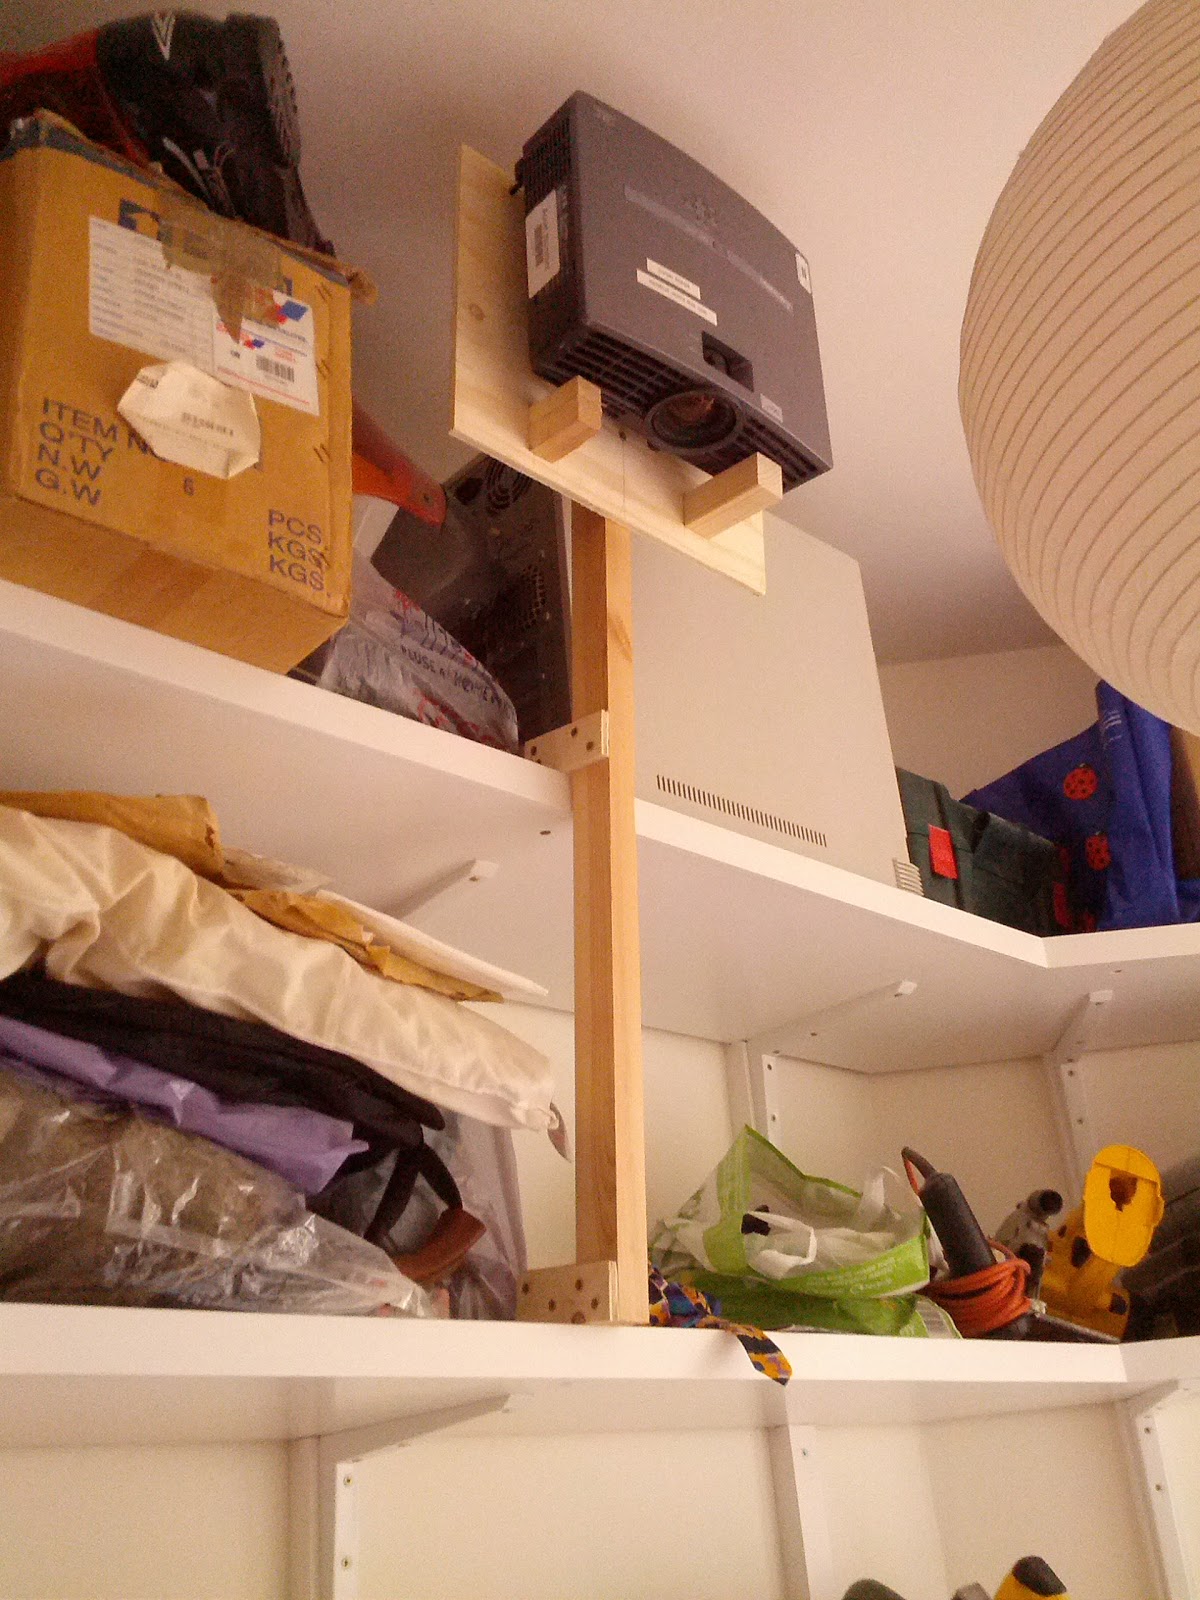
- June: Built all of the pieces of the giant cube. Undercoated them all, and designed a way to project images vertically from a laptop, for painting the sides.

- July: Finished painting and varnishing the cube. Took it to Nowhere and finally assembled it. Brought it back from Nowhere.


Materials
- 21msq 9mm spruce plywood
- 32m 34mm frame timber
- 2000 1.25" countersunk woodscrews
- 500 rubber flight case feet
- 500 1.25" round-headed screws
- 2.5l white undercoat
- 2.5l floor varnish
- Various acrylic paints
Things that worked well
- Modelling the more complicated pieces in Blender gave me confidence that I could build the structure correctly.
- I structured the work so that if I ran out of time, I'd still have something I could present.
- The pieces were as weatherproof as they needed to be.
- The pieces have not suffered too much damage, even though I decided not to add corner protectors.
- Using a spreadsheet to manage my cut lists meant I used the frame timber with over 98% efficiency.
- I kept good financial records.
Things that didn't work so well
- I didn't have time to fit EL wire edges to the pieces.
- The tarpaulin that was supposed to protect the work from storms was instead ripped up by the storms.
- The lights I'd ordered didn't arrive on time, so I had to pick up some more expensive equivalents at short notice.
- I made one mistake in the painting of the sides.
Things learned (and relearned)
- Timber merchants don't know how much their timber weighs, because their customers almost never care.
- How to use a mitre saw, a skill saw, and a jigsaw.
- What IP65 means.
- How to wire Ceeform plugs.
- Having a system is much more important than having the best system.
- Power tools are amazing.
- People like to build tall things, and will go to great lengths to build the tallest things they can.
- Friends will happily lend a hand when the need arises.
No comments:
Post a Comment